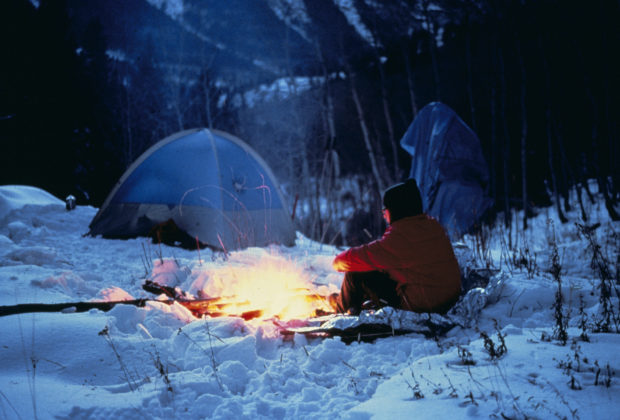
If winter isn’t enough to stop the wanderlust in you, please do yourself a favor and take a closer look at our winter water purification guide:
Why Hydrate?
Dehydration poses threats to campers out in snowy trails. Even if you feel cold and chilly on the outside, your body actually loses a sufficient amount of water due to heavy respiration and increased energy outputs.
Ideally, a mountaineer should take around ¾ of a liter of water for every hour on an entire winter hike. However, gathering water during this season is not as easy as it seems. With nothing but iced water bladders and frozen lakes, you can potentially die of dehydration if you don’t know how to gather and purify water.
Signs of Dehydration
Preventing dehydration always starts with feeding yourself with the right knowledge and skills. Aside from learning how to purify water, you should also know how to readily identify signs of dehydration. As a guide, below are some of the symptoms you should watch out for:
- Yellowish urine (When urinating, watch out for the color of your urine. If it’s clear, you don’t have to worry about dehydration.)
- Dry skin, lips and mucus membrane
- Thirst
- Headache
- Dizziness
Tips on Gathering Water
To lessen your susceptibility to dehydration, make sure you are well-hydrated days before your trip. Also, before heading out to your trail, fill your water bladders and load up on electrolyte-rich fluids.
Now, if you are already in the middle of your hiking trail and your water supply is already freezing up or running low, calm down. Below are some of the tips you can use when gathering water:
- Find a Water Source
Look for a water source. Once you see one, test it by tapping a stick on the ground. Just make sure that you are standing on a rock or a stable ground before tapping on icy sheets. Then, extend your reach by clipping or tying a water container at the end of your pole.
- Melt Snow
Melting snow is not really energy-efficient, but if you can’t find a water source, this is the best option you’ve got. Just remember, when making water out of snow, avoid scooping out pink or yellowish snow.
To filter unwanted particles, you have two options: bring the snow to a boil or use a purifying chemical. When applying the latter approach, screen large particles from the snow by using a cloth. Then, once you gather enough water, add a few drops of a purifying chemical to your water container.
Winter Water Purification Guide
- UV Light Purification
Compact and lightweight, a UV light device can effectively filter out unwanted residues from the water by disrupting harmful microorganisms. Plus, advanced models can be charged using solar energy so you won’t have to worry about power supply.
SteriPen is a popular choice amongst campers as it is efficient and easy-to-use. All you need to do is dip the pen on the water and stir until the light goes off. Afterwards, you can directly drink from the container. Just make sure your lids are clean as the device won’t filter out microorganisms present in it.
- Chemical Winter Water Purification
If you don’t know how to purify water, you can always turn to purifying chemicals as they are also easy to use. However, bear in mind that most of these chemicals don’t work on cold or frozen water. Hence, boiling snow or water to the point when it is slightly warm can help make the purification process more efficient.
Aquamira is one of the most popular winter water purification chemicals. It can get rid of microorganisms from the water in just around 30 minutes. The best part is, it doesn’t leave an aftertaste, and it can work its wonders even on slightly colder water temperatures. Just remember to keep the chemical in your parka so it won’t freeze up.
With the right set of equipment and a go-getter attitude, camping during the winter season can be less challenging. Just remember, if you don’t have purifying device at hand, always bring water or snow to a boil to keep contamination at bay.
